Week 1:
Project 1: the tiny planets
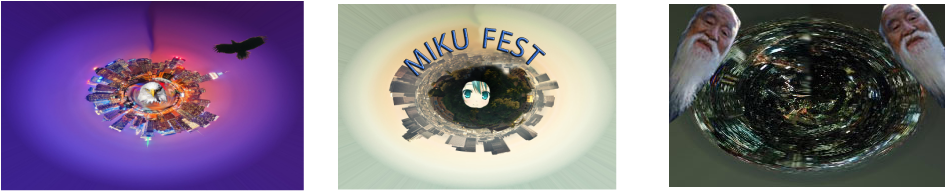
I flipped the images of the skylines vertically. I then used the polar coordinate tool which is located under distort. I then added images with the pen tool.
Week 1-2
Project 2: Roy Lichtenstein: Vector Portrait with a Stress on Half Tone Portrait
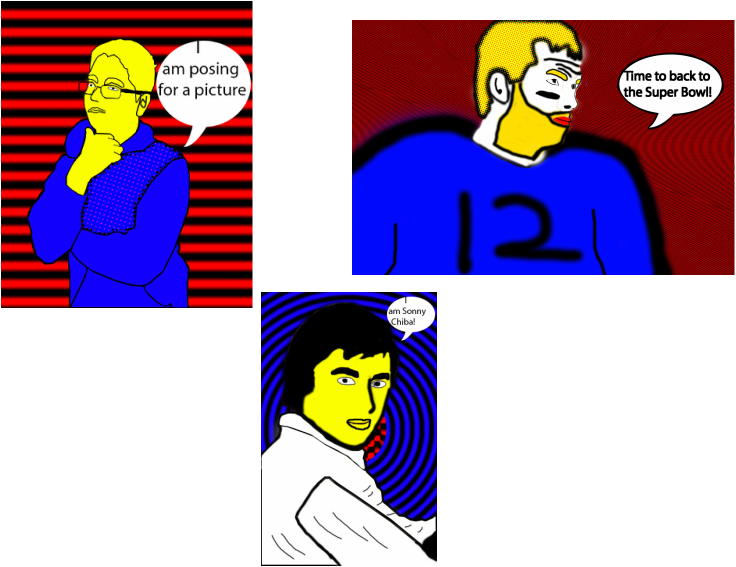
I used the pictures of Tom Brady, Sonny Chiba, and myself. I created a vector portrait for each one using only yellow, red, blue, white, and black. I then added color halftones to them. I also used the custom shape tool as well, which created the speech bubbles.
Project 3: Shepard Fairey

I used pictures of myself, Kim Jong Un, and Super Kai 64
3D text using photoshop
Soda Can

________________________________________________________________________________9 Week Projects ________________________________________________________________________________
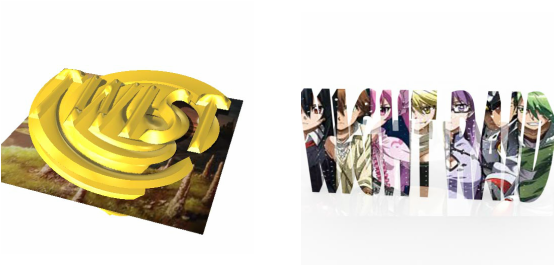
Project #1

To make this photo, I created a pyramid by using the mesh from preset under the 3d tab. I selected its materials by shift clicking. I then went to properties, and pulled down the drop down menu. I selected a gold texture, I adjusted the shine levels. I found a picture of the Illuminati I copied it three times, and made a 3d extrusion of each one. I then found a picture of the Sharingan from Naruto (red eye). I then made three copies. i put two of the eyes on the side eyes of the Illuminati. I put the third eye at the top of the triangle. I then used made a selection of each pupil. I made an extrusion of all six. I extruded the pupils. I then wrote UCHIHAS, I then made a 3d extrusion of it. I extruded it and tapered it. I then wrote the word ARE, and I extrusion, I then scaled it to make it bigger, and I extruded. I then wrote ILLUMINATI CONFIRMED, in light blue. I then made an extrusion. I extruded it, and twisted it. I added a bevel and inflate to each word. I then rendered the photograph, and confirmed that the Uchihas are the Illuminati.
______________________________________________________________________________________________
Project #2

To create this photo, i found a picture of Arena Ferox from Fire Emblem: Awakening. I made a copy of it and flipped it vertically. I then clicked filter, distort, and polar coordinates. This made the arena in to a ball. I then used the smudge tool to make it smoother. I then found an image of Lucina. I made a selection, and desaturated her. I then made three copies of it. For the went to color range, and selected highlights. I then filled it with white. I repeated this for the shadows and midtones. For the midtones I used red, and for the shadows I used blue. I then posterized the image of Lucina. I then found a picture of Robin. I repeated what i did with Lucina, but instead I used purple for the shadows, and yellow for the midtones. I added a outer glow and stroke to Lucina. I used a pen tool to make a hole in Lucinas hilt so it looks more like her Falchion. I added a drop shadow and stroke to Robin. I then used the rectangle marquee tool to make a blue rectangle. I then went to filter gallery and chose color halftones. I chose circle, and I adjusted the size. I then wrote ROBIN in purple. I made an 3d extrusion. I then extruded the word. I repeated the process for the word And, and LUCINA. I used the color yellow for AND, and used blue for LUCINA. I then made beveled and inflated each word. Lastly I rendered the image.
