Project #1
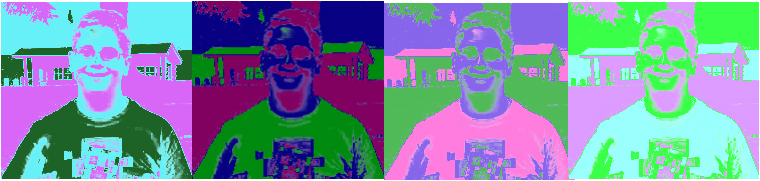
Josef Albers
|
|
This is based on Josef Albers works. Albers was a poet, painter, sculptor, art theorist and a teacher. He was the chairman for the Department of Design at Yale. Albers was born on March 19, 1888. He died on March 25, 1976.
Project #2
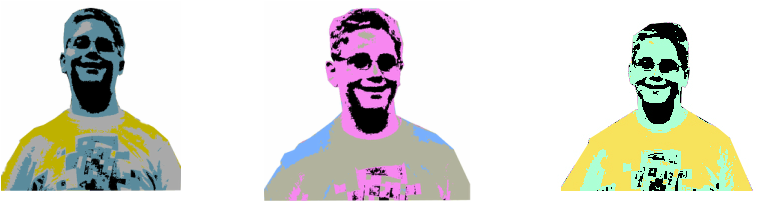
Frank Stella
This is based on Frank Stella's work. Minimalism, Post Painterly Abstraction, and Color Field became more popular because of Stella
Project #3

we created a brush by using the magic eraser and the rectangular marquee tool.
Project #4
We did this project to learn about bevel and emboss. We also learned how to create a shadow effect
Project #5
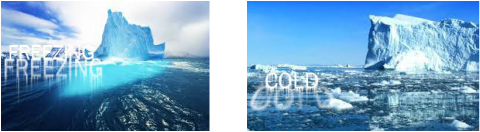
We did this project to learn how to flip images. We also learned how to use the wind.
Project #6

We did this project to learn about how to use the smudge key tool.
Project #7
We did this project to learn the art of gif making.
Project #8
We did this project to learn about the Filter Gallery.
Project #9
we did this project to learn about work paths.
project #10

We did this project to learn how to sketch a path.
Project #11
We did this project to learn how to make a brush with the pen key tool.
Project #12

|

|
Project #13

Project #14
Project #15
Project #16
Project #17: The Banksy project
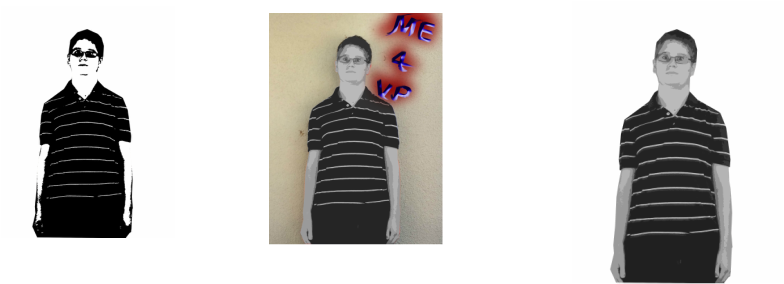
Project #18 The liquify tool
Project #19 The Vector portait

________________________________________________________________________________________________________________________________________________________________
Nine Week Project #1
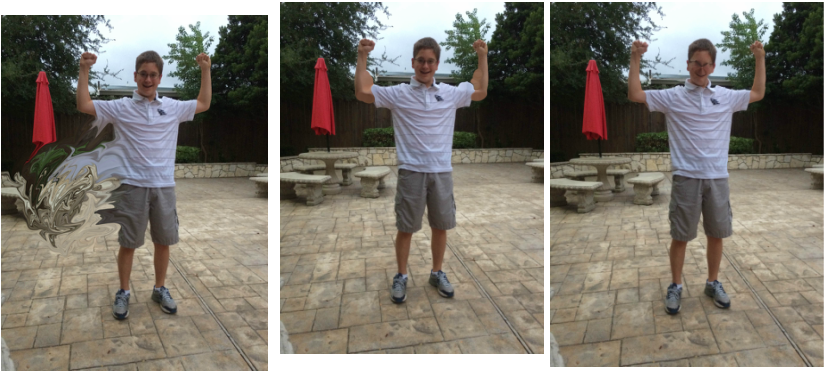
To create this gif, I took two photos of me. It was two pictures of me running. I then uploaded both of the photos. After that, I used the pen tool and connected the anchors around my body. I then pressed Ctrl j and hid all the other layers. I then made a brush preset. I repeated the process for the other image of me. I then put the color green in the background by using Ctrl backspace. I then created another layer and used my brush until it turned pitch black. I then made a new layer behind it by using Ctrl j. I tilted the image by using Ctrl t. I then added a Gaussian blur to the tilted image. I repeated the process twice more. Each time i did that i moved my brush closer to the left. I then added a text box saying IRUN. I then pressed the timeline button under the window. I then pressed the create timeline button. I then pressed the convert to frame animation button. I then created 8 copies of each image, Thus having 24 slides. I then changed the time to .03 seconds per frame. I then saved for web and put it under Html and images.
________________________________________________________________________________________________________________________________________________________________
Nine Week Project #2
To create this gif, I found images of places in Nintendo games, and their games, and I saved them. I then opened the image of Hyrule field. I then typed the word THIS. After that, I created a copy of it and flipped it vertically. After that, i dragged the image of Link into Photoshop. I put his layer above both of the THIS. I then created a clipping mask. I then dragged an image of Dr. Wily's castle. I then typed the word IS in the color black and made a copy of it. I made a copy of IS. I then used Ctrl t to tilt the image. I then lowered my eraser opacity to 15%, and erased the tilted is to be slightly transparent. After that I added a image of Megaman and created a clipping mask of it with the non tilted IS. I then added a picture of a Pokémon After that I typed SUPER. I added a bevel and emboss on it. After that i added a picture of Pikachu and created a clipping mask. I then added a picture of Peach's castle. After that I typed SMASH. I used the smudge tool on it to give the word "Bowser horns and tails". I then added a picture of Mario and created a clipping mask. After that I added the Final Destination stage. I typed the word BROS!. After that, i added a inner shadow, a inner glow, and a outer glow. I then added a picture of the cast from Super Smash Bros. Brawl and made a clipping mask. I then added a background on a new layer. On the background Converted it to the filter gallery. I then chose the accented edges option. I then added a picture of the Super Smash Bros. title. I then went around it with the pen tool and made a brush of it. After that, on a new layer I used my new brush. I then added a picture of the Super Smash Bros. logo, and created a clipping mask. I then pressed the timeline button under the window. I then pressed the create timeline button. I then pressed the convert to frame animation button. I then created 6 frames Each with their own picture in the order of THIS IS SUPER SMASH BROS! Super smash bros.. I then changed the time to1 second per frame, the last one was 2 seconds. I then saved for web and put it under Html and images
